
 We are now into the second stage of sauerkraut fermentation where Lactobacillus plantarum are the main bacteria now at work.
If you missed our posts last week, we had to vote five jars off on Sauerkraut Survivor, Day 10. I encourage you to only view if you aren’t easily scared off - some of the brine samples showed some pretty scary creatures!
Day 14 I only had to sample nine jars instead of 14 (there are four jars that won’t be sampled again until the end of ferment, likely Day 28) due to dropping five jars on Day 10.
Across the board the only visual difference is the brine in Fido jars #14 (no airlock) and #17 (airlock) appears to be greener than the brine in the mason jars.
All jars have very low CO2 levels, indicating we are past the active “gaseous” stage of Leuconostoc mesenteroides and into the “non-gasous” stage of the ferment where Lactobacillus plantarum are present.
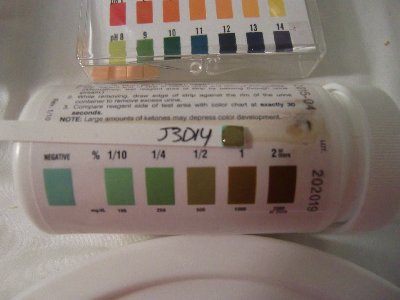
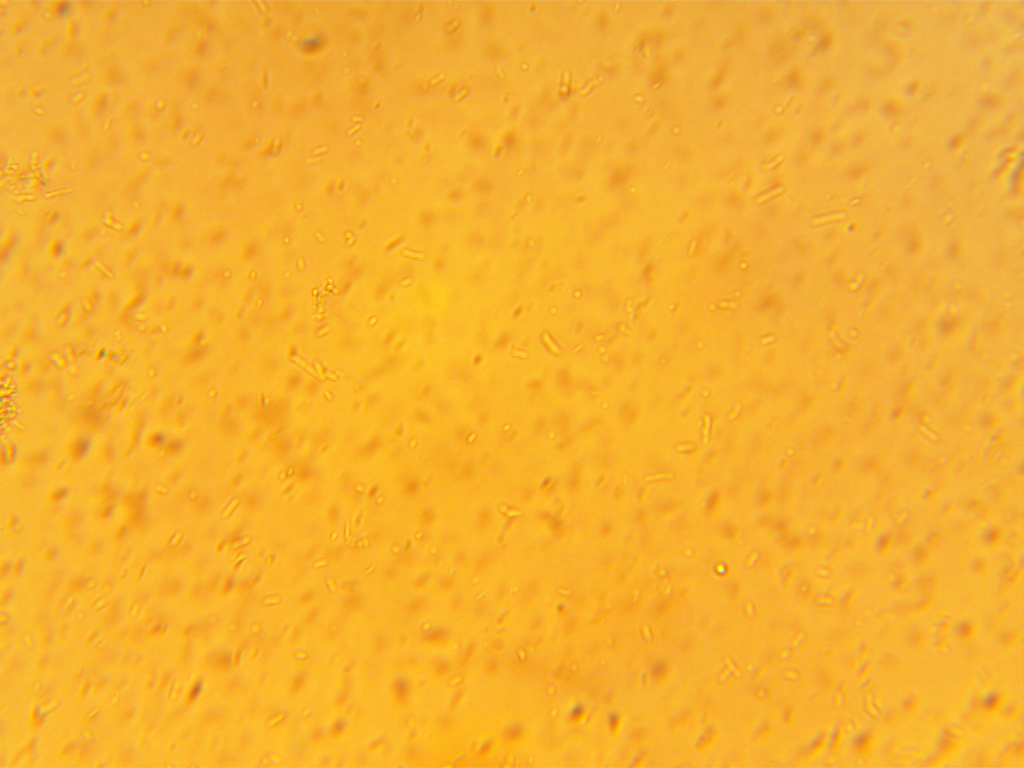
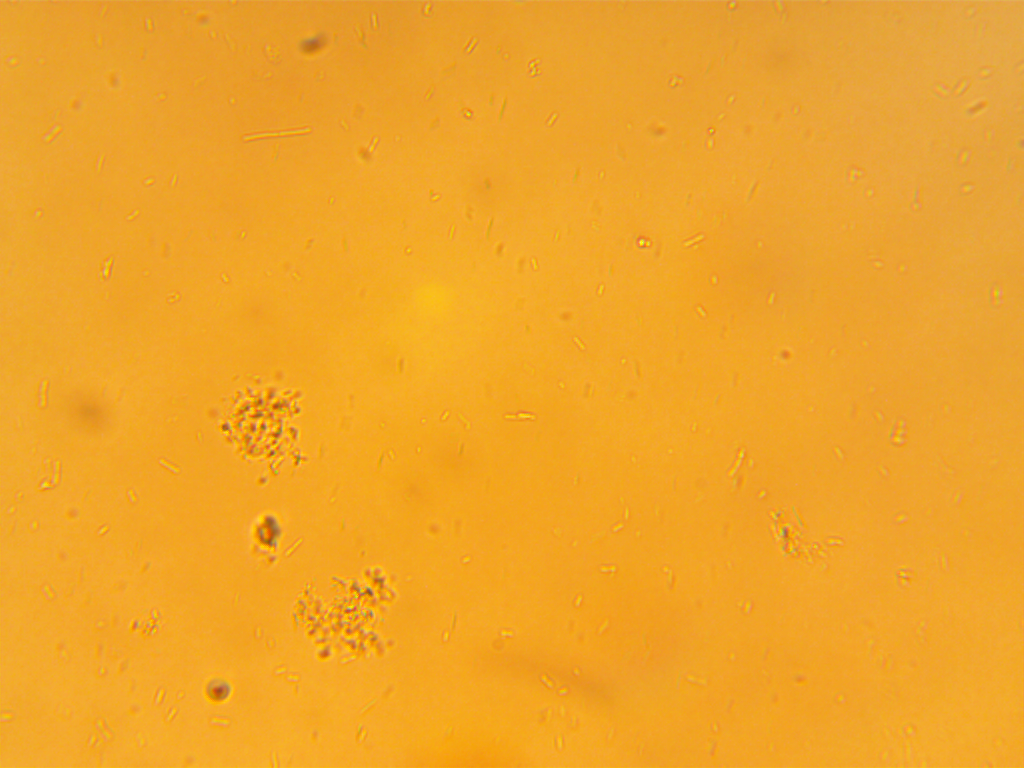
The glucose reading has lowered across the board to 500 mgs per deciliter (dL). This is down from the 1000 – 1500 mgs from Day 7. I am using Diastix Reagent Strips for this test. Here is a photo of one of the glucose tests:
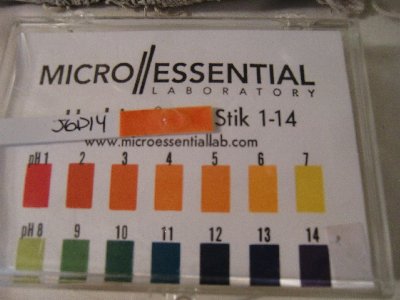
pH has dropped to 3 - 3.5 where it was previously close to 4. I am using medical-grade Micro Essential Laboratory strips for this test. Here is a photo of one of the pH tests:
I want to state that I have not refrigerated any jars at this point. It is important that Lactobacillus plantarum stays in the range it’s most happy in: 72° - 90° (see The Science Behind Sauerkraut Fermentation for more details). Refrigerating before the ferment has completed will stifle the growth of the LABs and you will end up with a less probiotic sauerkraut. The absolute minimum temp your sauerkraut should be at is 50°.
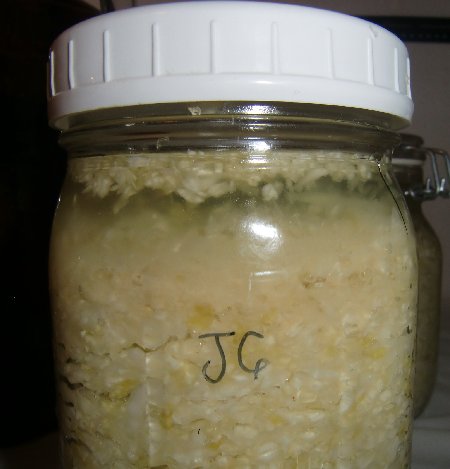
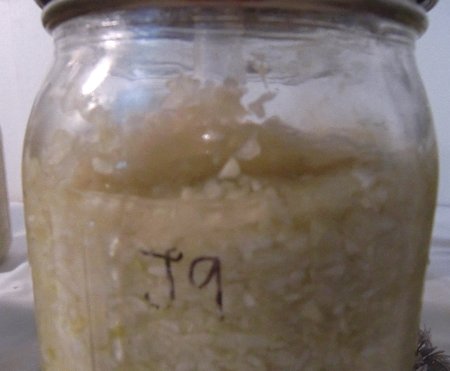
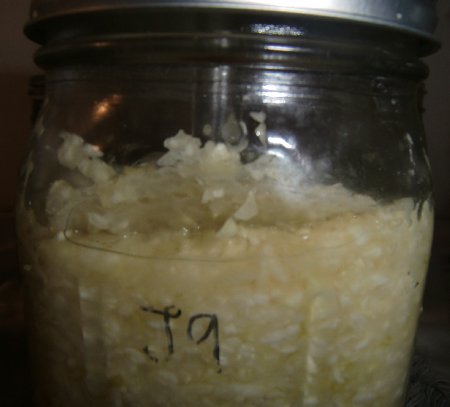
The Jars & Brine Samples for Day 14
Samples were taken with a pipette and one drop was placed on these microscope slides and a cover was placed on top of the sample. Brine sample was reviewed using this AmScope microscope. Photos were taken on the microscope with this AmScope camera. This new camera will give you MUCH larger photos (click on them to view them full size!).
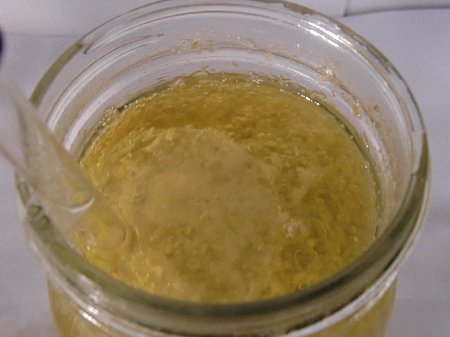
Jar 2 (Olive Oil), Day 14
You can see how much the brine has fallen back through the cracks in the sauerkraut made by the heaving in the gaseous stage. The oil is sitting right on the cabbage. I was unable to get a brine sample - it was all oil. I ended up taking a spoon and pushing the flat glass weight and dehydrator screen down, which allowed the brine to release and create a layer of brine between the cabbage and the oil.

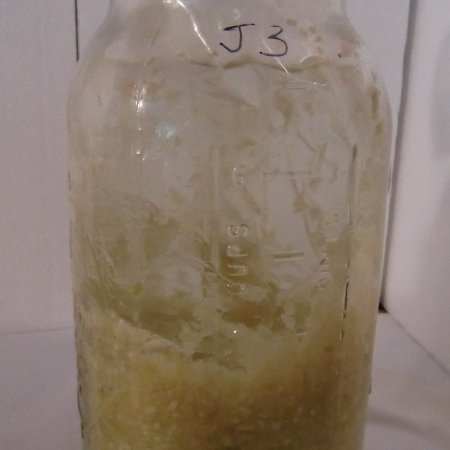
Jar 3 (Water Baggy), Day 14
There are several pieces of cabbage trapped between the glass and the plastic baggy. Some of them seem to be decaying, but no mold signs yet. This could account for the mold, yeast and other oddities in the brine, although the sample was taken in what appeared to be clean cabbage.
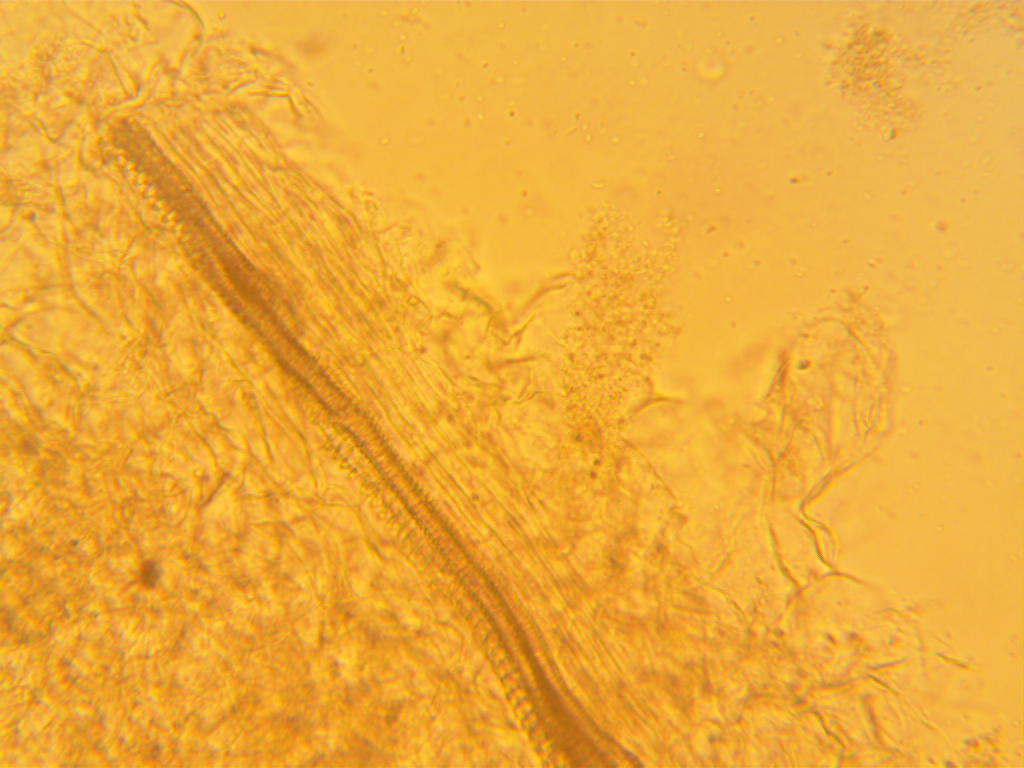
 LABs were difficult to spot in this sample. Plenty of yeast, mold, and what I call Mr. Slinky (I am having a microbiologist friend find out what this is as its beyond my scope of expertise).
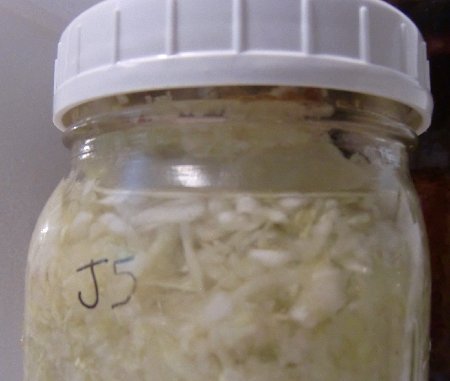
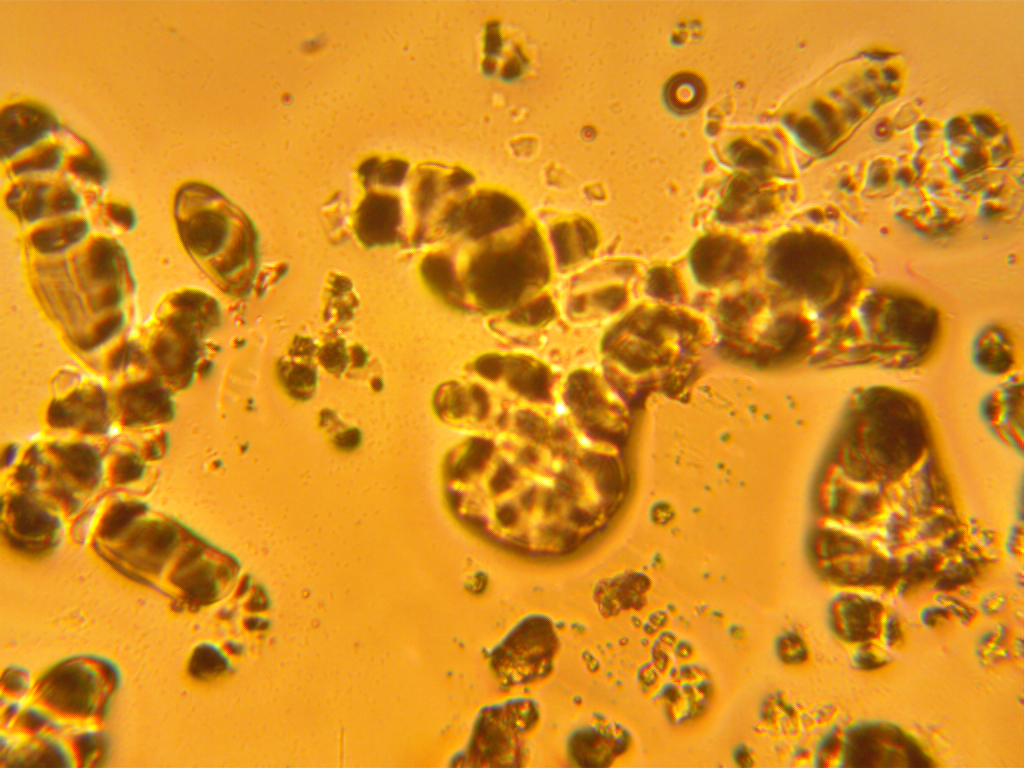
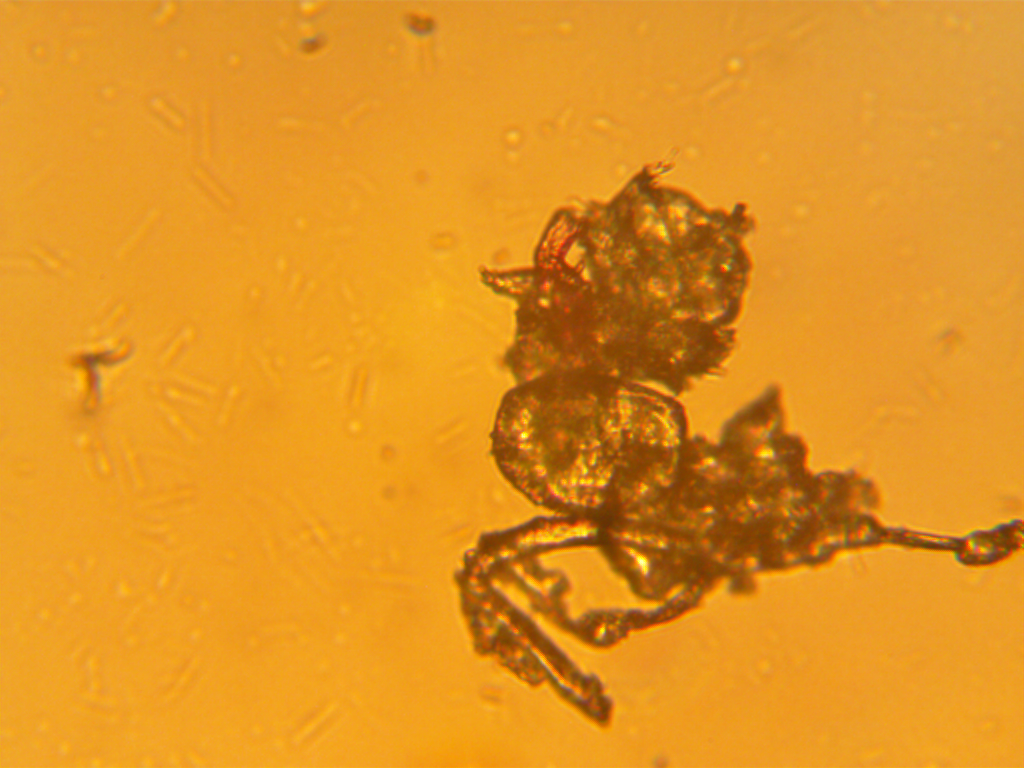
Jar 5 (Cabbage Leaf, Shot Glass, White Lid), Day 14
The cabbage inside the jar not staying submerged under the brine. Not having high hopes for this jar.
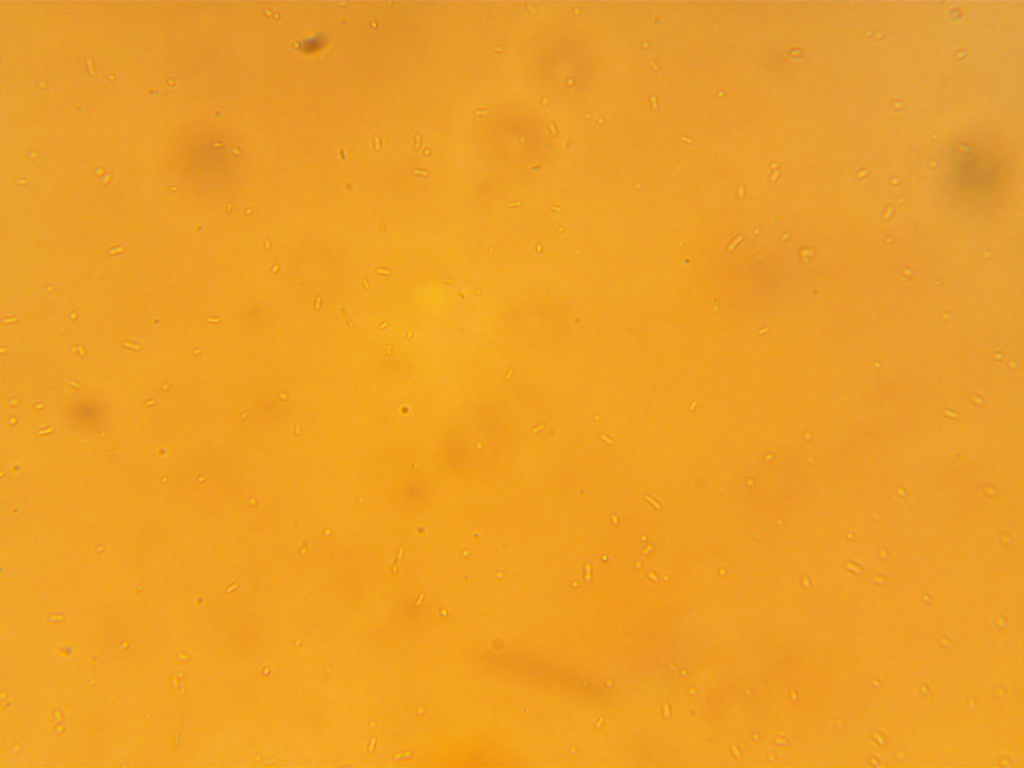
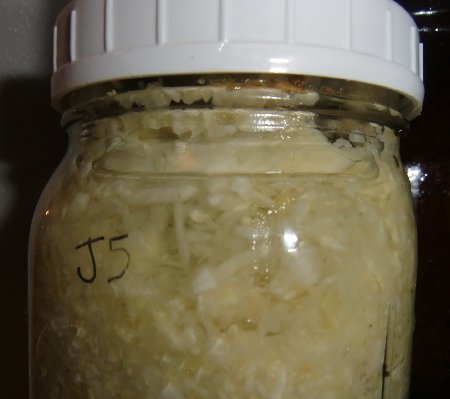 As expected, the brine sample shows spoilage organisms and low LABs.
Jar 6 (White Lid), Day 14
Visually, things look well for this jar. Glad I have the brine samples to confirm!
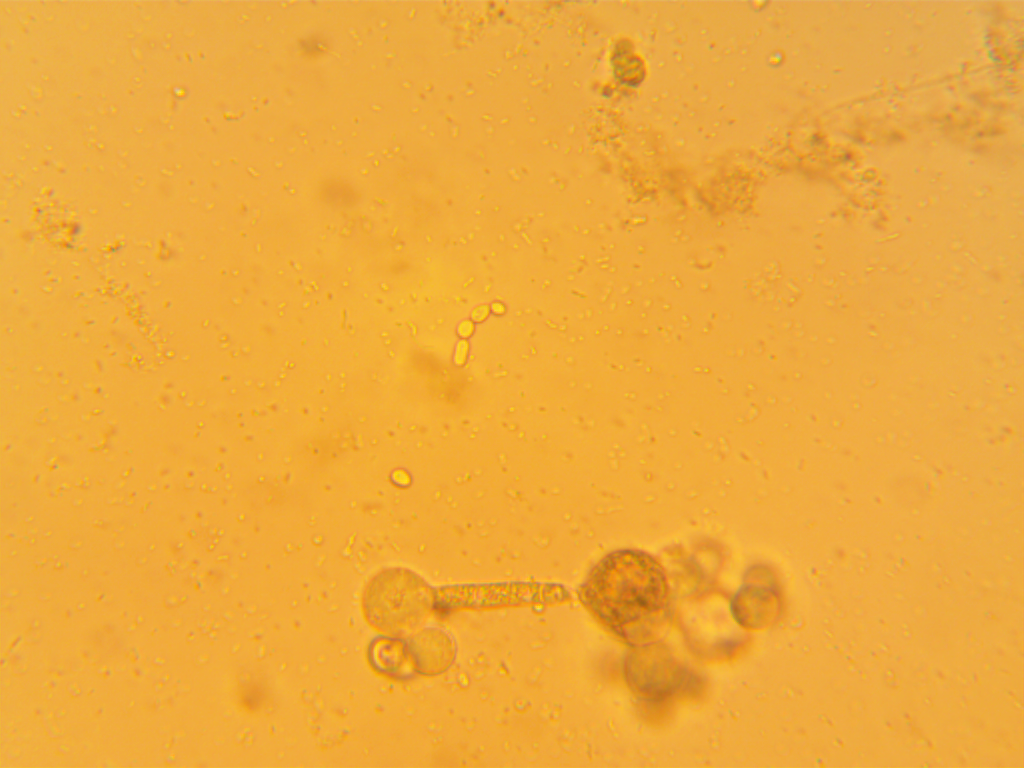
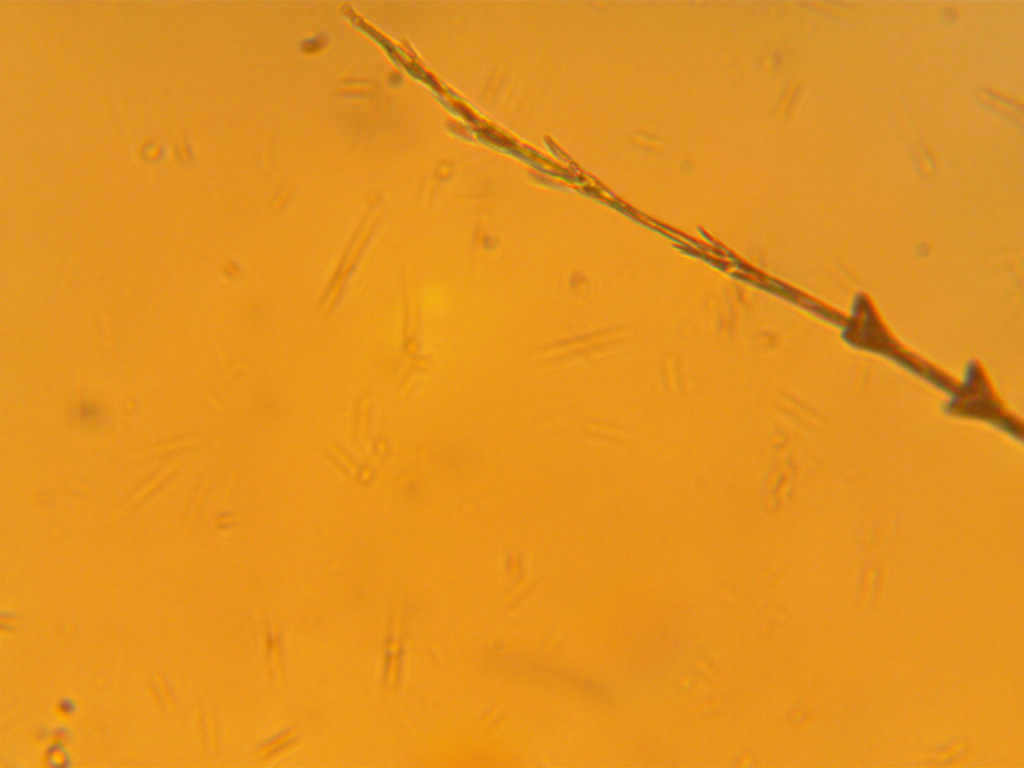
 Odd arrow-shaped thing and very low LAB count.
Jar 7 (White Lid with Baggy), Day 14
Brine is nice and high in this jar. The only difference in this set-up is the baggy. What will the brine show?
 It’s incredible the difference the baggy made. This jar is showing lots of LAB activity and no spoilage organisms. I can’t forget the scary guy I found on Day 7, though.
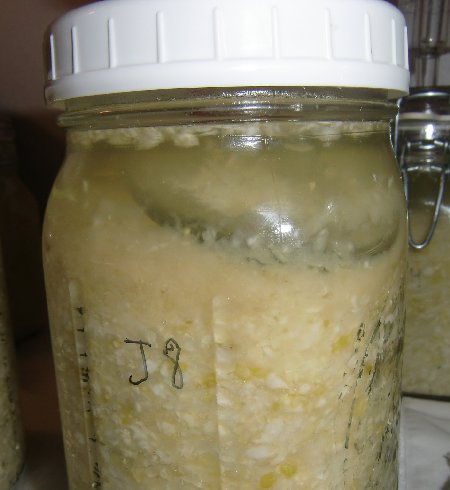
Jar 8 (White Lid with Airlock), Day 14
Brine is nice and high with no spoilage detected.
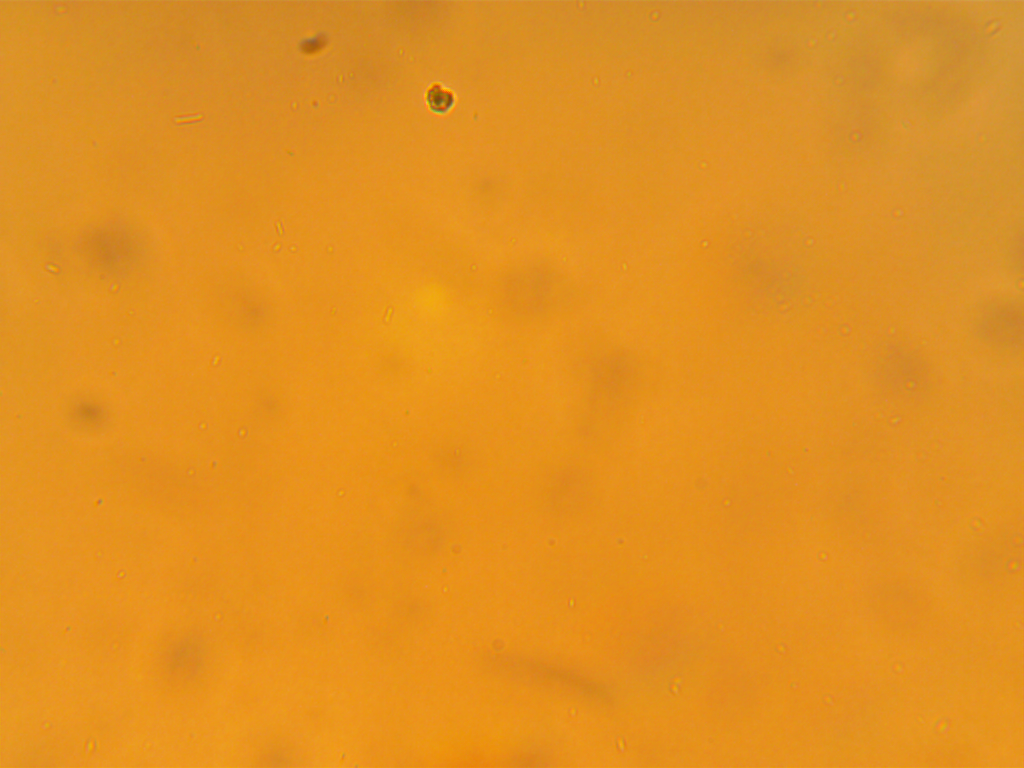
 Minimal LAB activity, with nothing alarming spotted.
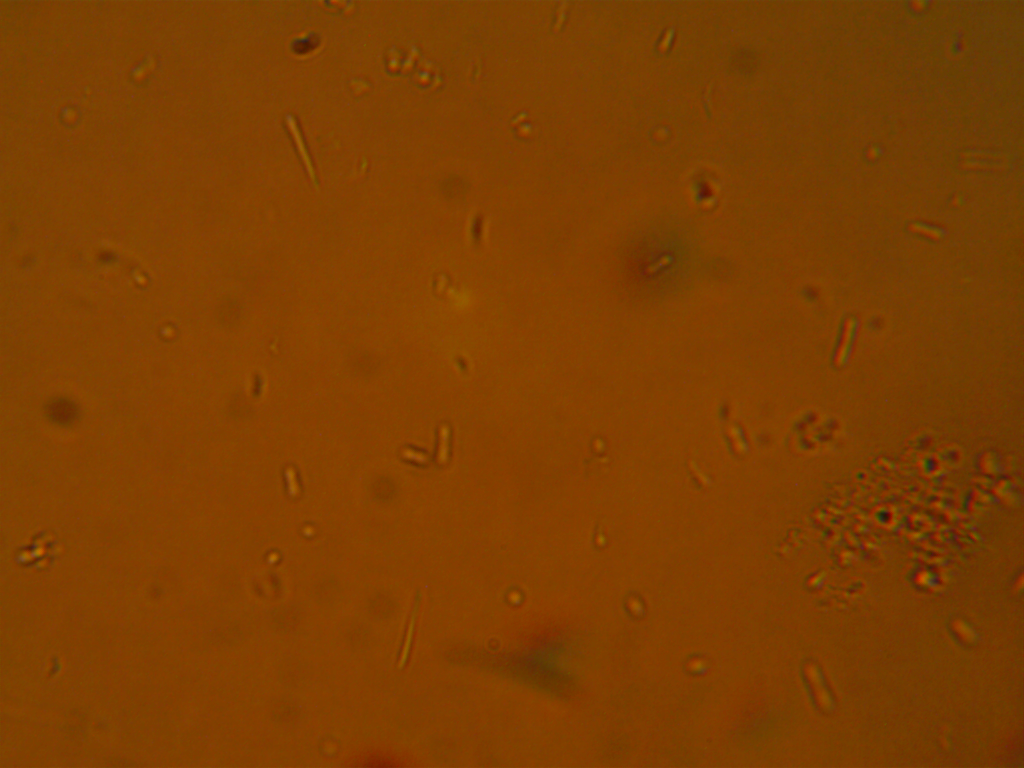
Jar 9 (Metal Lid), Day 14
Due to the tight seal, the pressure had nowhere to go but out the test port, taking the brine with it. Now there isn’t any brine covering the cabbage.
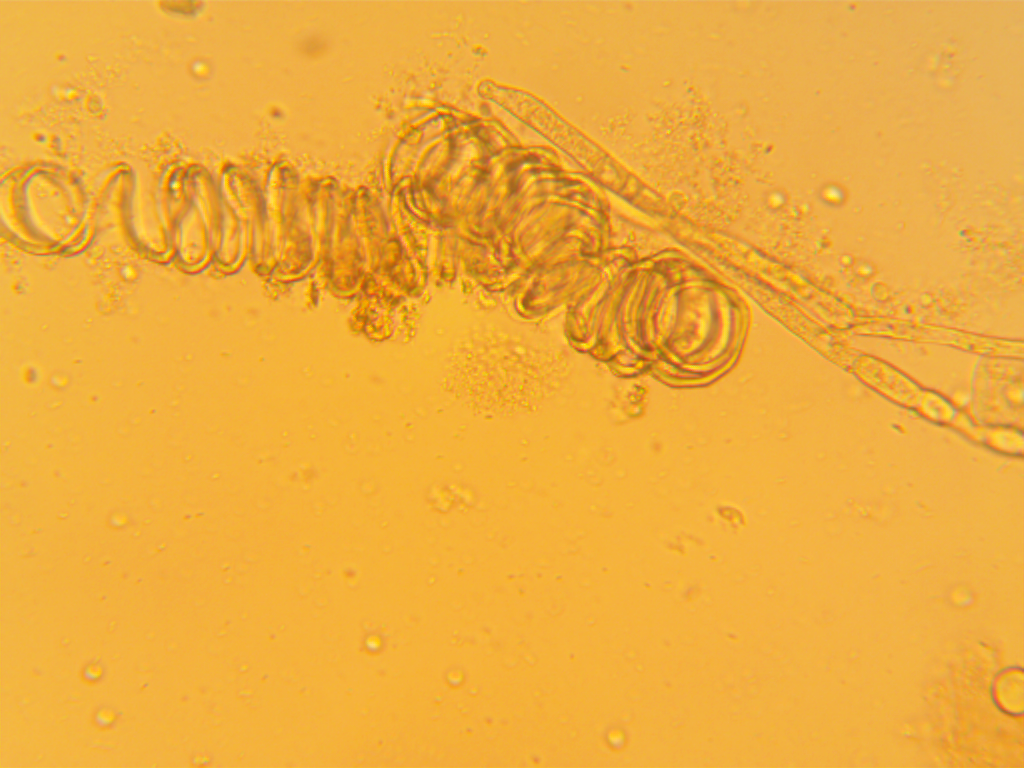
 I had to grab the sample from within the cabbage. Lots of LAB density in there! Check them out - and look for Mr. Slinky, Jr. …
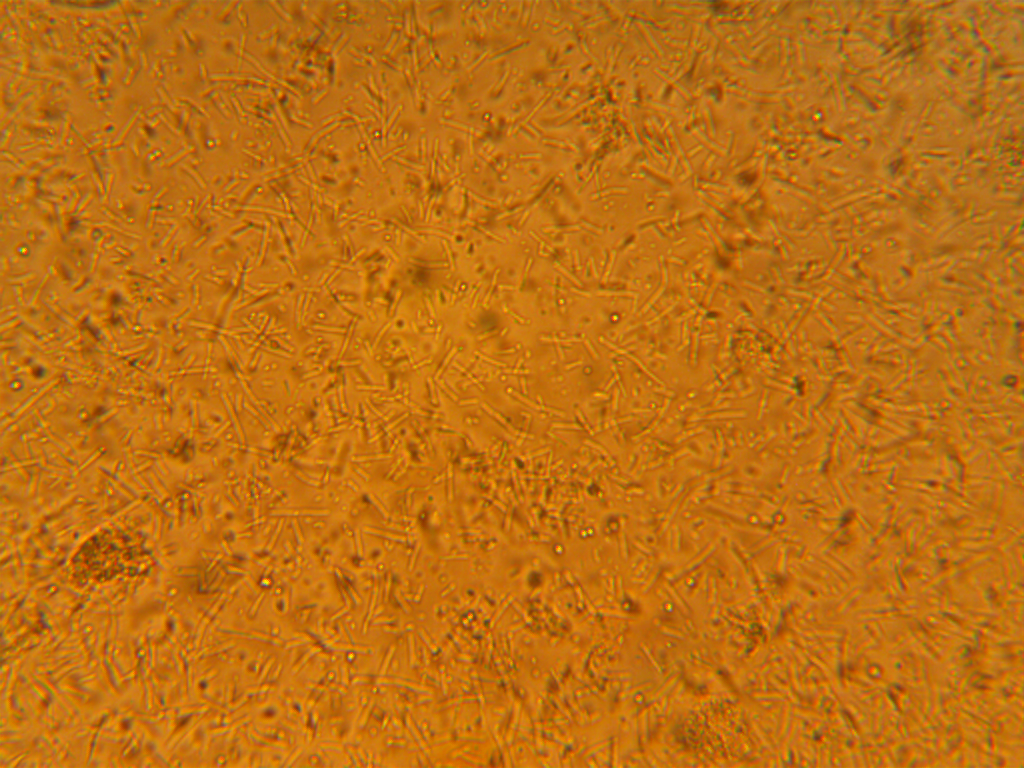
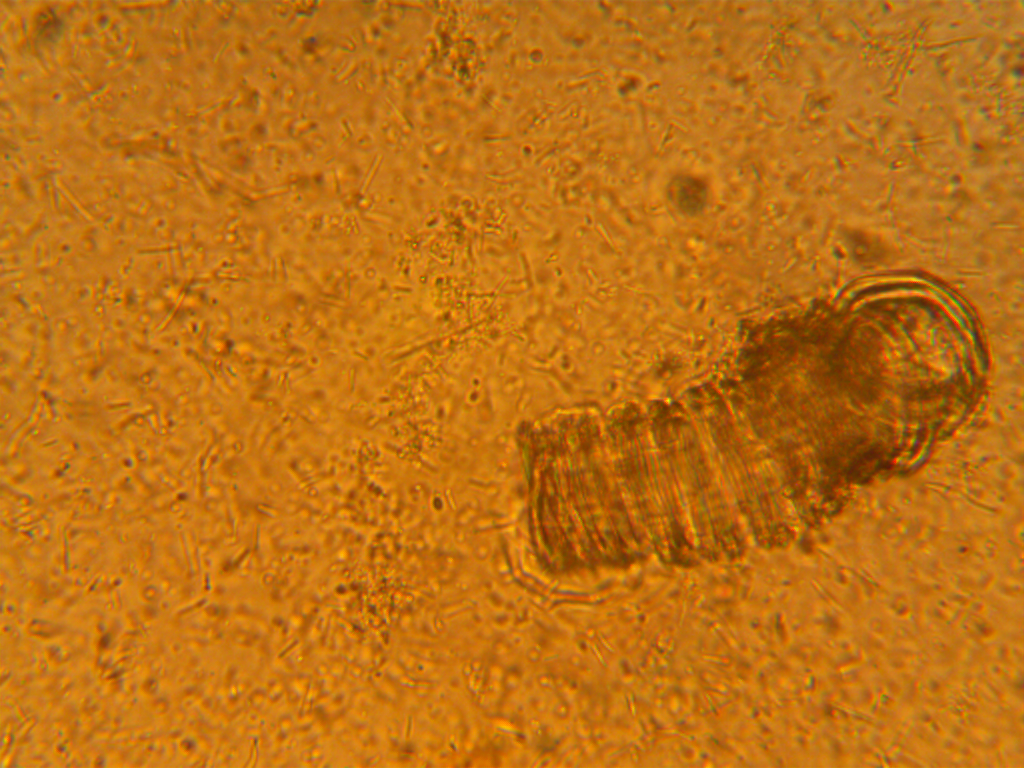
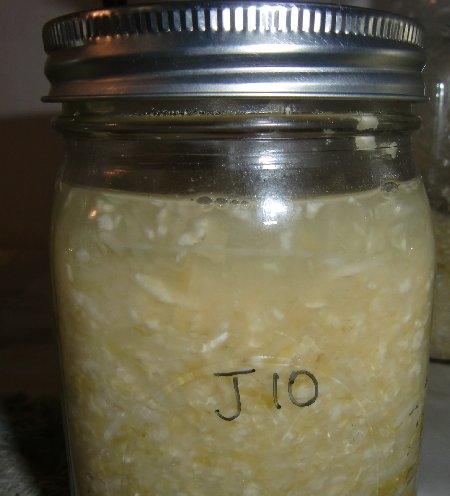
Jar 10 (Metal Lid with Airlock), Day 14
Brine level lowering, but sufficient enough. No spoilage detected.

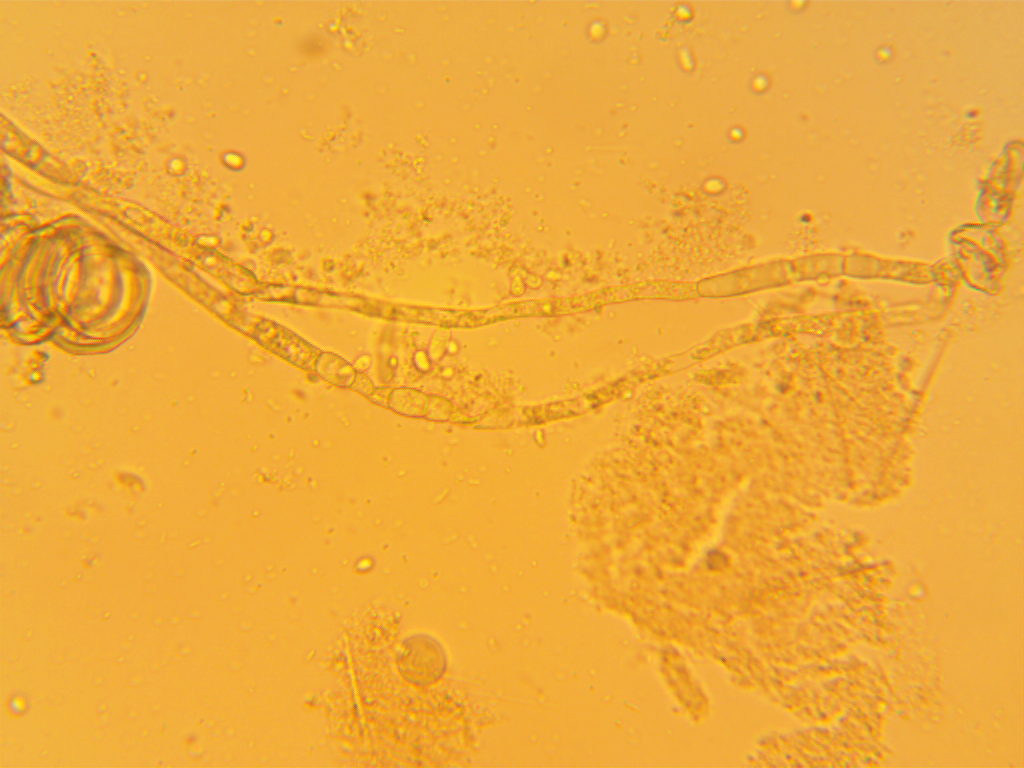
 Lots of long LABs…
Jar 12 (Lacto-fermentation Air-Lock System generously donated by Cooking God’s Way), Day 14
No testing done on this jar today. It will remain unopened until end of ferment (Day 28 possibly).
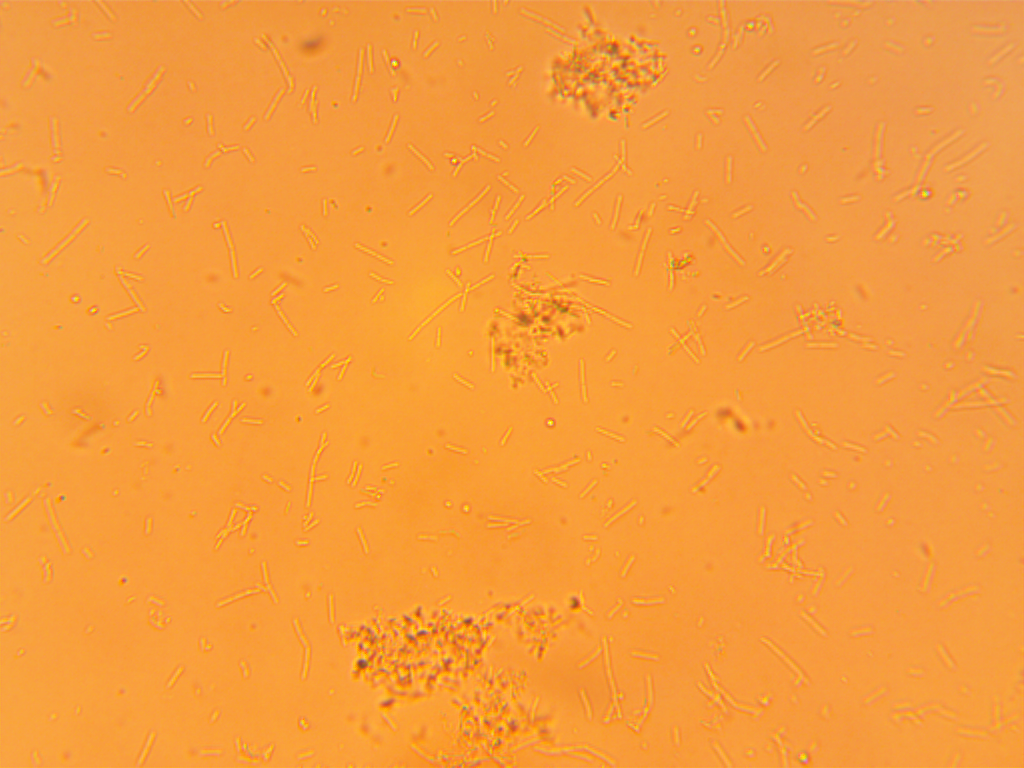
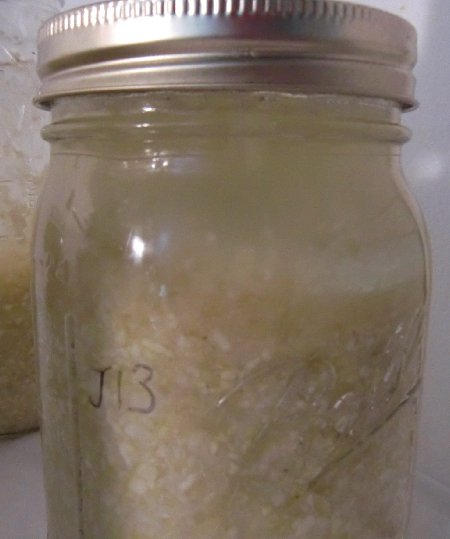
Jar 13 (Pickle Pro generously donated by Homesteader’s Supply), Day 14
Brine level in this jar is impressive - it’s difficult to see the top unless you scooch down and look up. No spoilage detected.
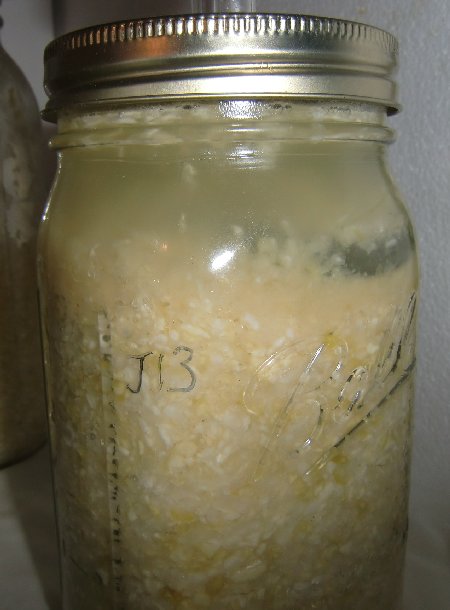 Moderate LAB activity, although not very dense. Could be that the LABs are more densely populated in the cabbage (where I had to take samples of other jars due to low brine level.
Jar 14 (Pickl-It purchased through the generosity of GNOWFGLINS), Day 14
No test today. Water level looks great.
Jar 15 (Harsch purchased by the generous donations largely from Homesteader’s Supply along with with GAPS Diet Journey, Hybrid Rasta Mama, and Dishrag Diaries), Day 14
No test today. Wish I could peek inside!
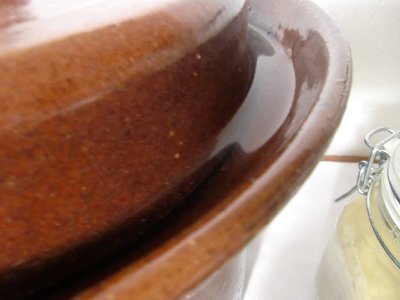
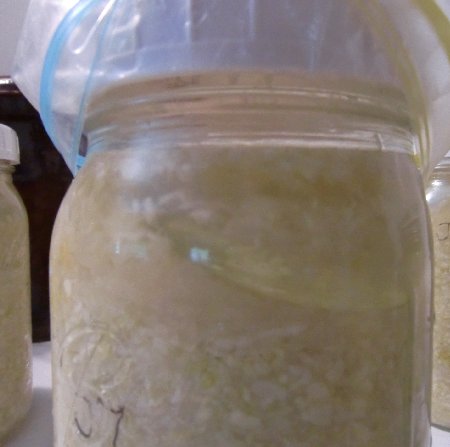
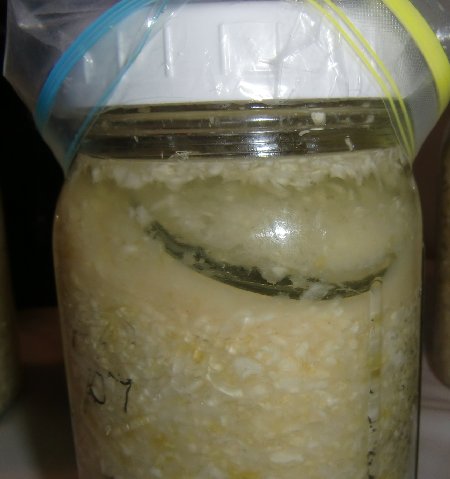
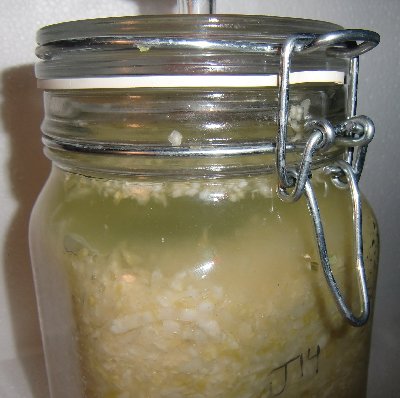
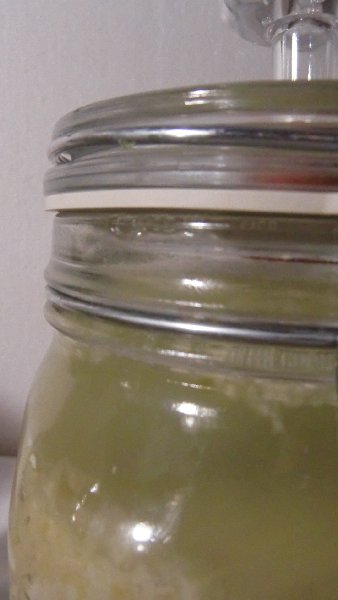
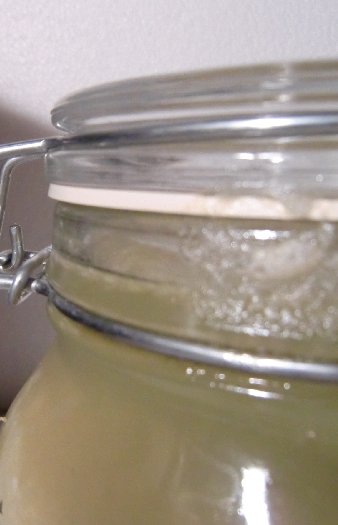
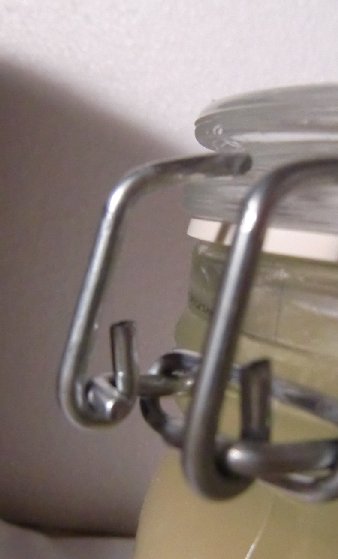
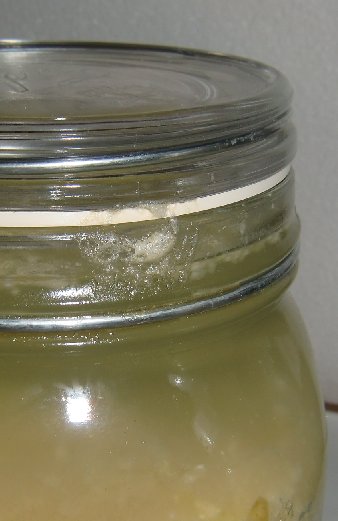
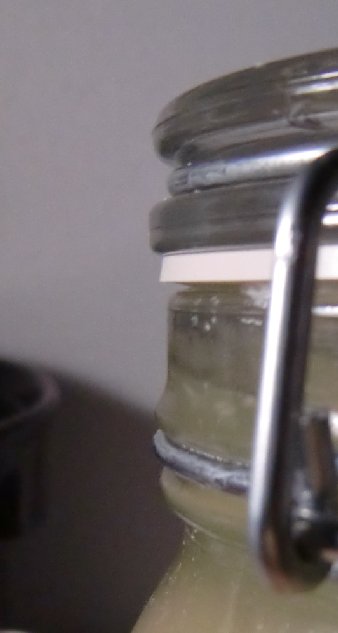
Jar 17 (Fido), Day 14
No test today. But I wanted to show you the gasket. In some of these you can see how the gasket is not straight up and down like it is with an extra airlock installed on the top (I say “extra” because the gasket acts as an airlock). The top part of the gasket has sucked in at an angle due to the pressure of the CO2. Can you see? This means it is working. You can also see where the foam is, showing you where the excess pressure oozed out. Compare to the second photo of Jar #14 where the pressure is easily released through the airlock installed in the top of the glass. Remember to click for full-size.
I hope you enjoyed viewing Day 14! Next post will be for Day 21 (I’m almost caught up posting these for you!).
THANK YOU!
Many of the supplies (including the cabbage) purchased for testing were mostly covered by the donations from Loving Our Guts, Pickle Me Too, Easy Natural Food, Common Sense Homesteading, Lisa M., Traditional Foods, Grocery Geek, Rachel C., The Urban Hearth, Hybrid Rasta Mama, Sarah M, Miriam R., and Leslie C. THANK YOU!
The Lacto-fermentation Air-Lock System was generously donated by the manufacturer, Cooking God’s Way.
The Pickle Pro was generously donated by the manufacturer, Homesteader’s Supply.
The Pickl-It was purchased through the generosity of GNOWFGLINS.
The Harsch crock was purchased by the generous donations largely from Homesteader’s Supply along with with GAPS Diet Journey, Hybrid Rasta Mama, and Dishrag Diaries.
If you would like to contribute funds to this experiment, I would be ever grateful. Please send PayPal funds to: [email protected]. If you have a blog I would be happy to link to it as a contributor. Thank you!
Similar Posts:


proud contributor |
| Lea Harris founded Nourishing Treasures in 2006. A mom passionate about her family's health and well-being, Lea believes education is power. Encouraging others to take baby steps in the right direction of health for their families, Lea's goal is to raise awareness of what goes into our mouths and on our bodies, providing natural alternative information that promotes health and prevents disease by using traditional foods and nature's medicine.
Lea is a Certified Health Coach graduate from Beyond Organic University, and a Certified Aromatherapist graduate from Aromahead Institute. "Like" Nourishing Treasures on Facebook, join the Nourishing Treasures Group on Facebook, follow @NourishTreasure on Twitter, and subscribe to our newsletter. You can also find me on Learning About Essential Oils forum, and Fido Fermentation Facebook group. Disclaimer: I use affiliate links wherever possible. So if you click on a link, and make a purchase, I might make a small commission, but it doesn't cost you any more. |
So, in regards to the Fido, that is good, or bad that the gasket is doing that? Would you assume that the gasket might need to be changed more frequently if it gets that sort of use?
Just out of curiosity, I checked the Fido jar that I use for my WK and it’s doing the exact thing you describe.
Thanks Lea!
It’s good in my book! It’s a way to visualize the pressure that’s going on inside.
It’s possible the rubber is getting a workout and might need to be replaced more often, but I don’t think it will make that much of a difference. The gasket is made of vulcanized rubber which makes it super durable. It’s tilting at an angle so the pressure can release, but it’s not stretching too much like a balloon when blown up.
Thanks for stopping by
Lea, I started my first batch of sauerkraut a few days after you started. I used a hybrid of a couple of your ideas. I used a crock pot crock with a plate, fairly tight fitting on top with brine covering. Placed a sauerkraut jar filled with water on top of the plate and the poured a 1/2 inch layer of coconut oil on top of it all. I covered it with dishtowels held on by a rubber band and put it in a cool place (temp around 65 degrees). I cannot see what’s going on inside the pot. I can only see the layer of oil still in the top. I’ll let you know how it works out.
Lisa - that sounds like an awesome set-up. I can’t wait to see how it turns out. Please don’t forget to let me know!